
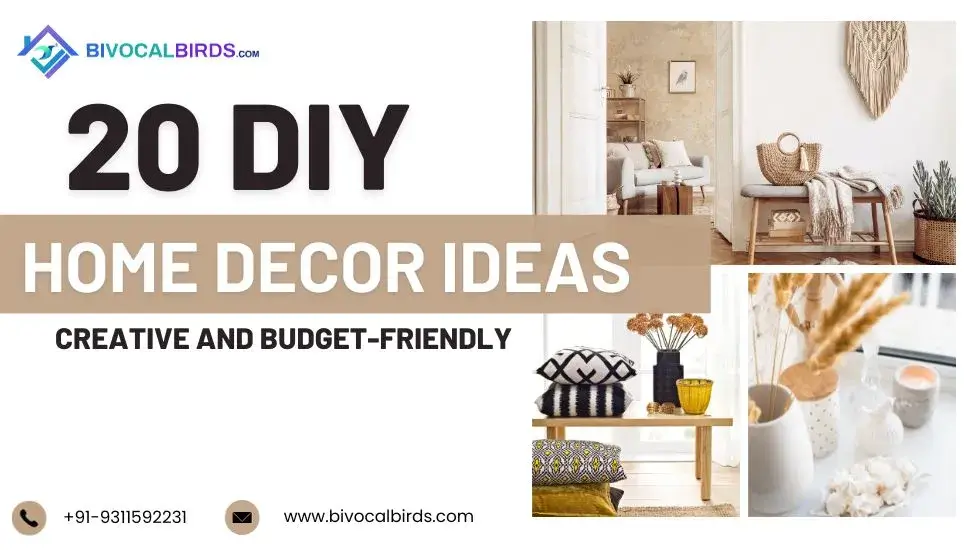
DIY Suggestions for Creative and Budget-Friendly Home Decor Ideas
 14-Dec-2023
Decorating your home stylishly doesn’t have to be expensive or difficult! With a bit of creativity and some DIY spirit, you can transform any space on a budget. From clever wall art to homemade furniture, this blog post shares over 20 fun, thrifty home decor crafts, and hacks to liven up your rooms. Read on for ingenious ideas guaranteed to make your home look great for less.
Faux Macrame Plant Hanger
Don’t splurge on pricey boho decor—this fake macrame only requires some rope and knots. Wrap rope strands around a wooden dowel curtain rod cut to size. Knot random sections for a textured look, alternating knots tightly and loosely. Hang with macrame hooks and top with trailing potted greenery for an earthy, handmade vibe that doesn’t break the bank.
Paint Color-Dipped Plant Pots
Painting terra cotta pots a bright color instantly modernizes them. For this fun rainbow effect, line up cleaned pots from largest to smallest. Paint the bottoms with acrylic paint in your color palette and dip partially into the next color as you work upward. The ombre styling makes for playful displayed succulents or herbs on a windowsill.
Also Read - Positive Energy Home Décor
Woven Wall Hanging
Show off your textile skills with this visually striking tapestry-style weaving made from old t-shirts. Cut shirts into 1-inch strips, then stretch and knot strips tightly around a wooden embroidery hoop. Take alternating strips over-under across the hoop, pulling taut as you weave. The resulting rainbow circle makes a cool headboard insert, wall art piece, or table centerpiece.
Map Wall Mural
For inexpensive yet eye-catching wallpaper, use pages from an old atlas. Apply wallpaper paste directly to your wall space in sections, then smooth out pages, slightly overlapping to form a cohesive map design. Layer pages to fill the space, then carefully paste flattened edges. Add washi tape for playful accents if desired. Voila—stylish custom wallpaper for artfully displaying maps!
Fringed Throw Pillows
Pillows make easy DIY projects for beginners. Jazz up basic pillows using the fringe-cutting technique. For each pillow, line seams evenly along three closed sides. Use sharp fabric scissors to cut 1-inch fringe sections every 1⁄4 inch, stopping just before the inner seam. Fluff and separate fringe with your fingers for a stylishly tasseled finish.
Decorative Photo Ledges
Show off stacks of framed photos, art pieces, or decorative objects with these deceptively simple floating shelves. Screw in ledger strips vertically as shelving brackets. Rest painted 1 x 4 boards into the ledges to form an asymmetrical shelf. The ledges can be staggered at different heights or lined up evenly—get creative! Display all your favorite accents.
Faux Capiz Pendant Lamp
Mimic the beauty of capiz shell chandeliers without spending a fortune. Use Elmer’s glue to affix cut translucent plastic sheets, like old report covers, into cylinder or globe shapes. Glue sheets edge-to-edge or slightly overlap onto cardstock rings for support, embellishing with dangling beads if desired. Wire ring tops and bottoms for hanging to invent gorgeous fake capiz lamps.
Also Read - How To Take Perfect Instagram Pictures of Your House?
Yarn Wall Art
This boho-chic yarn wall art is easier than it looks! Start with bare stretcher box canvas. Wrap different colors and textures of yarn around the face, using hot glue to secure ends. Then create woven stripes by wrapping yarn diagonally from corner to corner, gluing ends underneath. Finish by accenting with fun pompoms and additional wrapped yarn details for a stunning fiber art piece.
Wood Slice Candleholders
Natural wood slice candleholders make a lovely tablescape centerpiece that’s simple to create. Sand any rough edges so surfaces lay flat, then screw in glass tea light cups or votive holders wherever desired on wood slices. Line a tray with moss or tiny stones and display an artful arrangement of whimsical candleholders surrounded by flowers, crystals, shells, or other decorations.
Honeycomb Shelves
Why buy boring storage cubes when you can build these neat hexagon shelves? Cut wooden hexagon boards sized to fit your wall space. Then construct open honeycomb shelves by gluing together additional hex cut-outs. Hang the structured stack of attached hexagons. The resulting geometric nook provides quirky storage and display space to show off succulents, curios, or decorative books.
Rainbow Wall Tassels
Do you dream of a sparkling rainbow room? Liven up boring walls with a fun tassel garland. Cut cardstock into triangle flag shapes. Use hot glue to affix strings of colorful shiny tinsel trim along flag edges. Then attach loops of string to tops and hang flags edge-to-edge to form a happy rainbow wall that reflects light beautifully.
Also Read - Looking for the Most Economical Places to Live on Rent in Noida!!!
Fabric Scrap Rug
Save money and reduce waste by braiding rugs from old t-shirts and fabric scraps. Cut materials into 1 1⁄2-inch wide bias strips. Then tie the strips end-to-end until long enough for the desired rug size. Form braids by grouping and knotting 3 tied strips, overlapping 2 inches to braid tightly. Finish by sewing braided rows together, and trimming edges evenly. Sprinkle with baking soda, let sit briefly, then vacuum for fluffy fringed rugs!
Folded Book Art
Don’t trash damaged books—transform them into decor instead! Stack books into uneven towers, using decorative hardcovers for the visible spines. Secure towers with clamps, allowing pages and covers to fold at various angles. Apply decoupage medium over folds, press firmly to flatten, and allow to fully dry overnight while flattened before removing clamps. Display the abstract sculptures or hang small pieces as modern geometric art.
Magazine Holder
This woven magazine holder saves money on storage cubes while keeping periodicals neatly displayed. Cut the cardboard into strips and roll strips to form sturdy coils. Affix coils vertically using hot glue, first only at the top and bottom, then adding two rows between after strips stand unaided for easier construction. Finish by gluing together the coil seam and trimming the bottom evenly. Spray paint holder in your scheme and fill with favorite mags or literary accents.
Wrapped Washi Frames
Display kids’ artwork sophisticatedly by framing it with washi tape. Disassemble plain wood frames, then gently tape artwork securely to back matting boards if not already mounted. Have fun wrapping colorful washi designs around the frame edges. Then reinsert artwork, reinforce frame joints with glue during reassembly, and voila—custom modern framed art on a dime!
Also Read - 5 Most Affordable Societies to Rent in Noida Extension
Rope-Wrapped Bottles
Add coastal vibes to plain vases in moments with this beachy DIY. Start by applying a thick line of hot glue vertically along the bottle. Press the jute rope into glue as you wrap it downward in a spiral pattern around the entire vase. Trim any excess rope at the end and tuck under coiled layers, securing with a dot of hot glue underneath. Fill sculptural vessels with dried pampas grasses or faux plants.
Pom Pom Curtain Tiebacks
Replace plain curtain tiebacks with these lively fuzzy pom poms. Simply slide open metal ring backs onto both back curtain edges. Then tie single strands of brightly colored yarn to rings, threading ends through large sequins before finishing with oversized pom poms created by tightly wrapping yarn around cardboard donuts. The whimsical accents become functional curtain holders.
Folded Paper Wall Sculptures
Fashion intricate folded paper wall art worthy of an art museum without needing advanced origami skills. Print out free crease pattern templates or geometric line art available online as folding guides. Use guides to expertly transform single sheets of cardstock or decorative paper into interlocking 3D sculptures by accurately folding along printed lines and tabs. Display in groups for seriously stylish accent walls.
Plastic Spoon Jewelry Holder
Plastic spoons transform into the sweetest jewelry holders for almost no money. Hot glue spoon tops evenly in rows onto painted scrap wood backing about 8 inches wide. Adjust the spacing between spoons depending on jewelry sizes. Glue decorative beads, buttons, or shells between spoons. Hang for an organizer that keeps earrings, rings, bracelets, and necklaces handy but untangled.
Cork Trivet
Protect surfaces effortlessly while serving style with these round cork trivets. Use sharp scissors or a hole punch to cut cork floor tiles, placemats, or sheets into fun shapes. We glued our cork circles onto jute twine braided into circular placemats, but they could be embellished with raffia, lace, or burlap. The trivets make excellent coasters providing heat protection plus a pop of natural texture.
Driftwood Photo Board
Bring beach vibes inland by displaying favorite photos on real dried driftwood. Arrange pieces into a pleasing abstract shape on a wall. Then screw in small cup hooks randomly across the driftwood, winding fishing line between hooks across the gaps to create a net. Use mini wooden clothespins to clip cherished snapshots onto the fishing line web for a creatively casual photo board.
Final takeaway
As you can see, it’s simple to upgrade home decor stylishly on a shoestring budget with a little imagination! Which of these thrifty DIY and upcycling ideas are you most excited to try in your home? Let me know how your projects turn out or if you have any other fun suggestions for affordable home makeovers. Happy decorating!
Get your dream home with Bivocal Birds; call us or Email us at support@bivocalbirds.com.
Related Blogs
